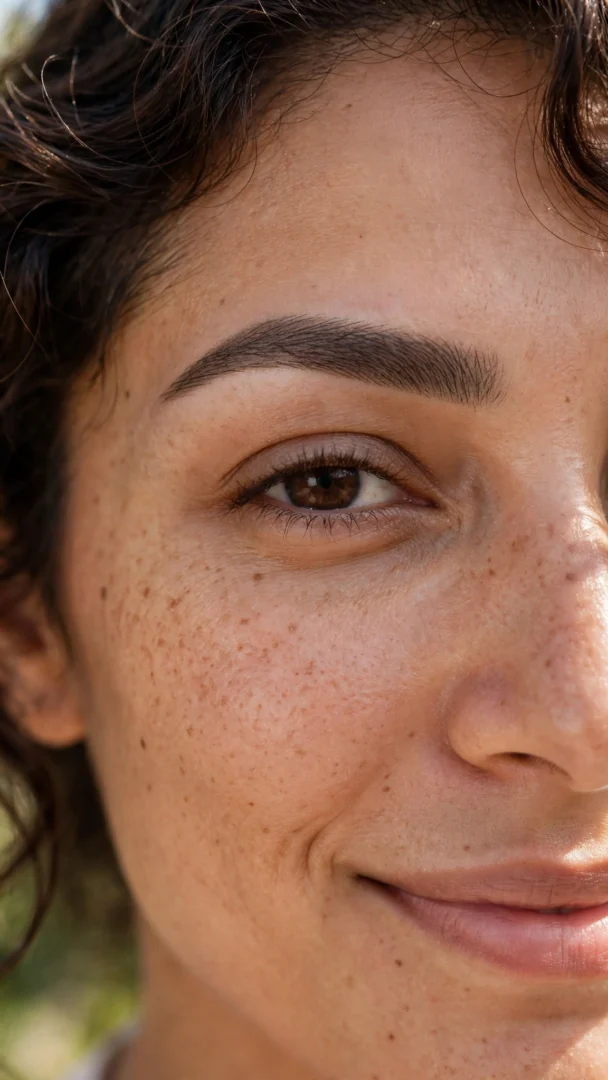
Good brows do more for your face than almost any other makeup step. A little shape and color can lift your whole expression in about five minutes.
This guide walks through 27 brow makeup and shaping ideas, from soft powder fills and soap brows to tinting, threading, and growth serums. Read through them all, then pick the few that fit your brows, your routine, and your comfort level.
1. Soft Powder-Fill for Sparse Brows
A powder fill uses a matte brow powder swept on with an angled brush to mimic the look of fuller hair. The finish is soft and diffused, so it never reads as drawn on.
Sparse, patchy, or overplucked brows respond best to this technique. It is especially kind to mature brows that have thinned with age.
Use short, feathery strokes in the direction of growth and concentrate color on the sparse areas. Set the powder with a clear gel so it lasts through the day.
2. Micro Feather Strokes with a Brow Pen
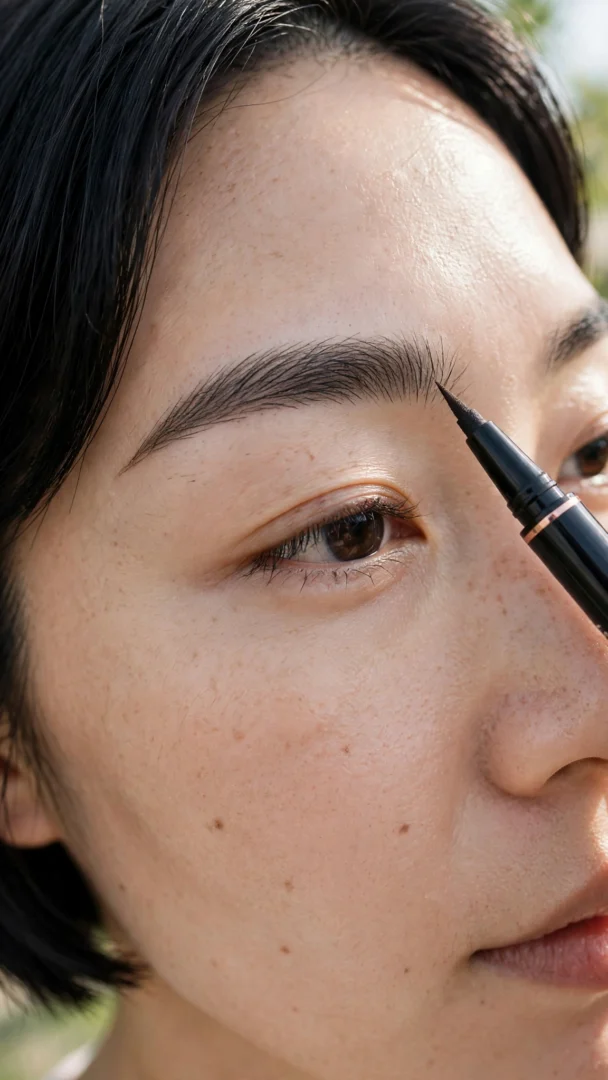
A brow pen with a fine forked tip lays down hair-like strokes that blend with your natural hairs. The lines dry fast and stay put without smudging.
Anyone who wants a natural, no-makeup brow will like this pen style. It fills the tail and the front of the brow where hair is often thinnest.
Sketch light upward strokes first, then connect them with tiny flicks. Let each layer dry for a few seconds before adding more.
3. Tinted Brow Gel for a Natural Tint
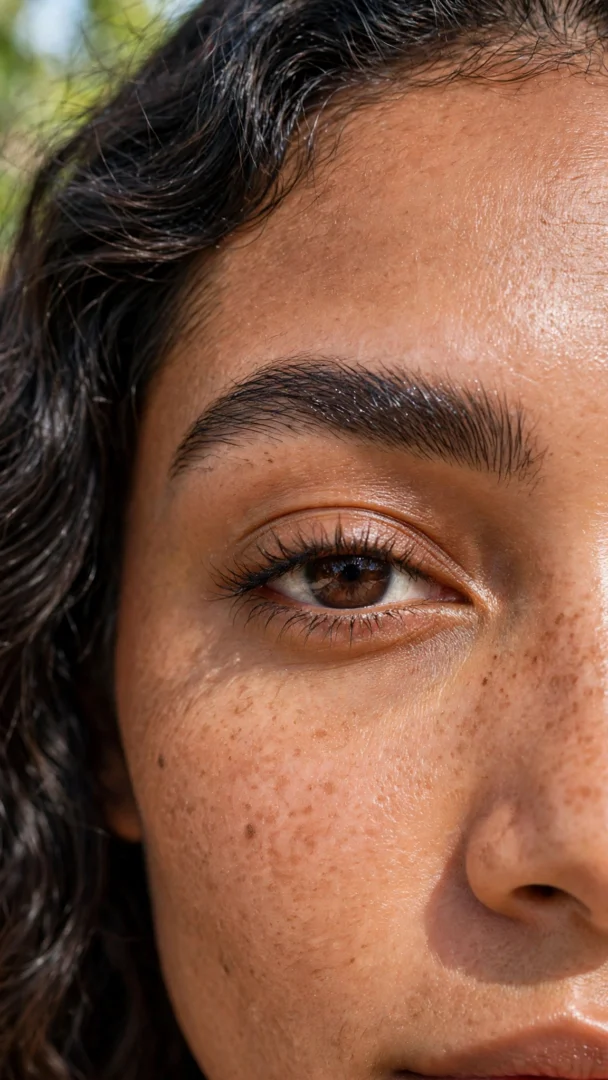
Tinted gel coats each hair with a wash of color and holds everything in place. The effect is polished but still very natural, like your brows on a great day.
This is the answer for thick brows that only need a little color and control. Busy mornings become a thirty-second job with one tube.
Brush the gel upward from the inner corner, then smooth the tail into shape. Wipe excess off the brush tip first so the color stays sheer.
4. Brow Pomade for Bold, Defined Arches
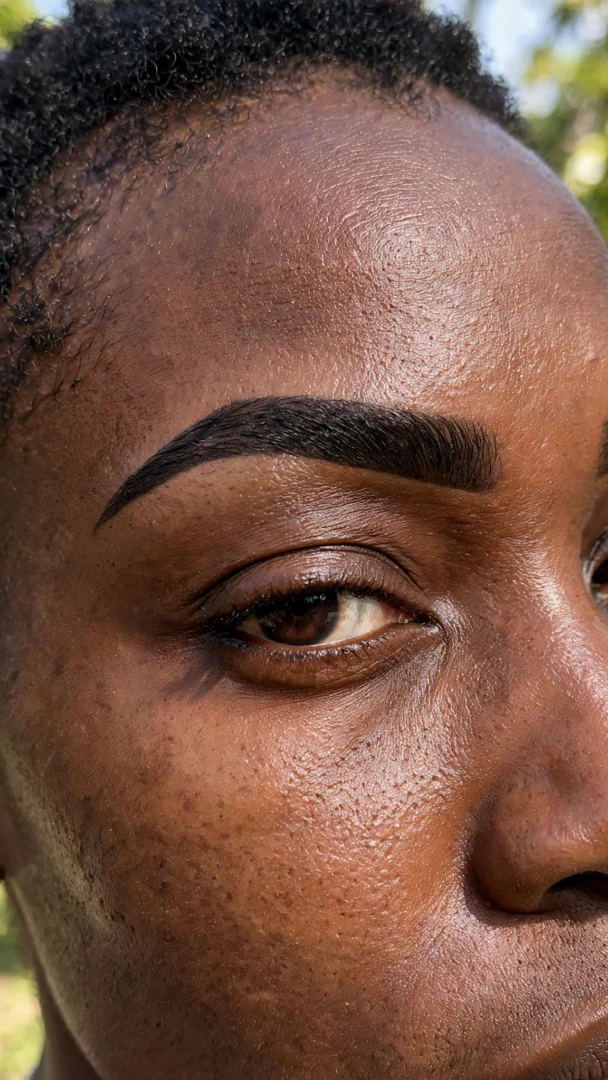
Pomade is a creamy, highly pigmented formula that sculpts a crisp, defined brow. It fills completely and sets to a smudge-proof finish.
Bold brow lovers and evening looks call for pomade. It photographs beautifully and holds its shape for hours.
Work with an angled brush and build the color in thin layers, starting light. Clean up the edges with concealer for that sharp, carved look.
5. Soap Brows for a Fluffy Laminated Look
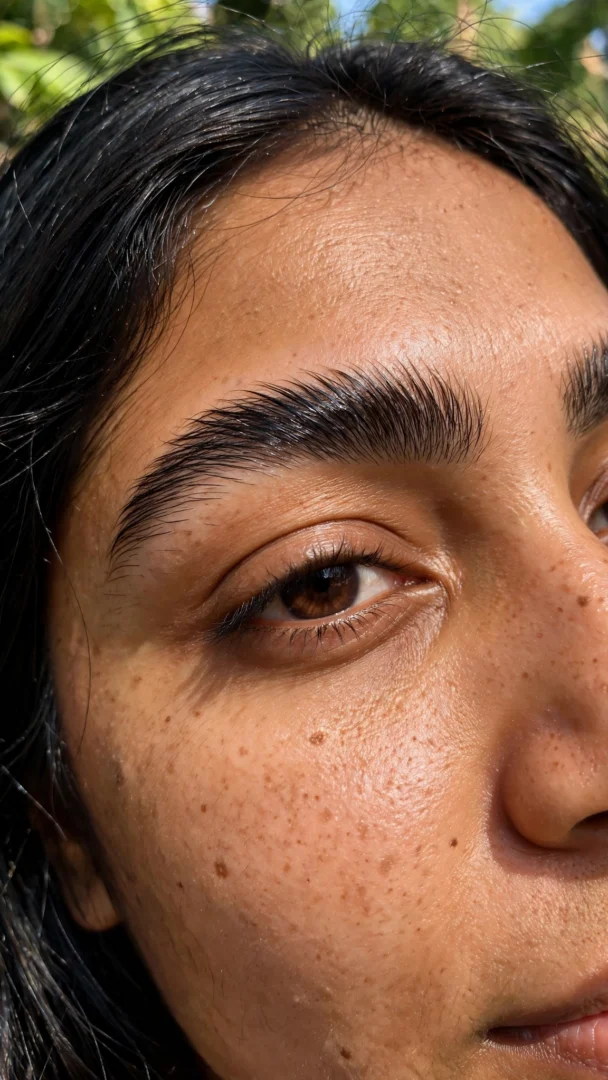
The soap-brow method brushes hairs upward and sets them with a glycerin-based soap for a full, feathered finish. The result looks like an expensive lamination treatment.
Straight or downward-growing brows gain the most from this technique. It creates the illusion of thickness without adding any color.
Dampen a spoolie, pick up a little soap, and brush each section upward. Press the hairs flat for a minute so they set before moving on.
6. Ombre Brows (Powder Ombre Effect)
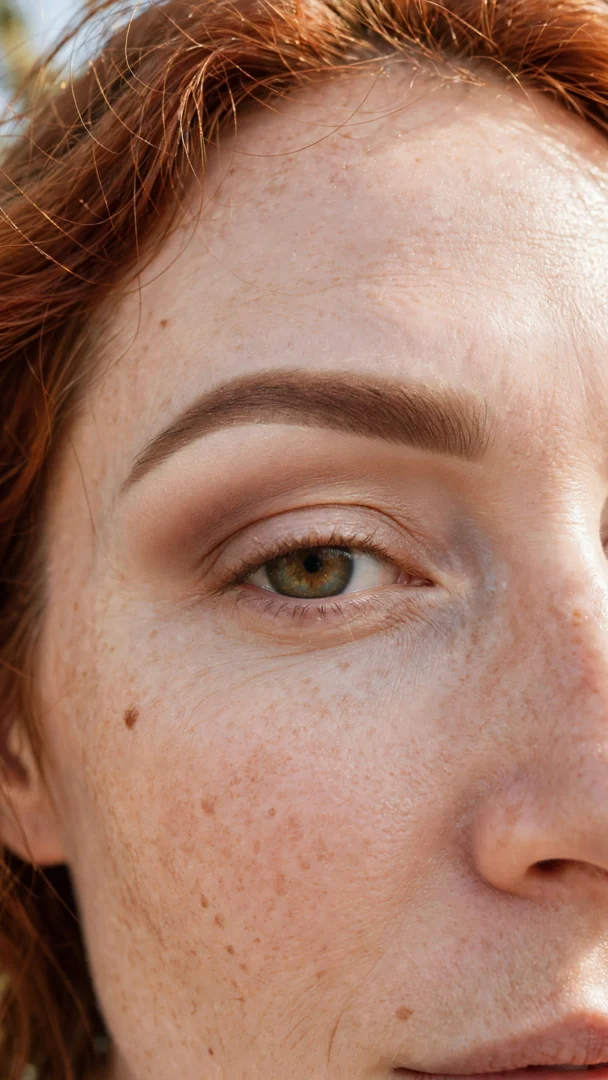
The ombre effect keeps the front of the brow soft and light, deepening toward the tail. This gradient gives a lifted, polished look that mimics naturally denser ends.
Rounded or flat brows benefit from the defined tail this creates. It is a strong choice for evening makeup or photos.
Start with a light hand at the inner third and add a second layer from the arch back. Blend the meeting point with a clean spoolie.
7. Brow Mapping: Finding Your Perfect Shape
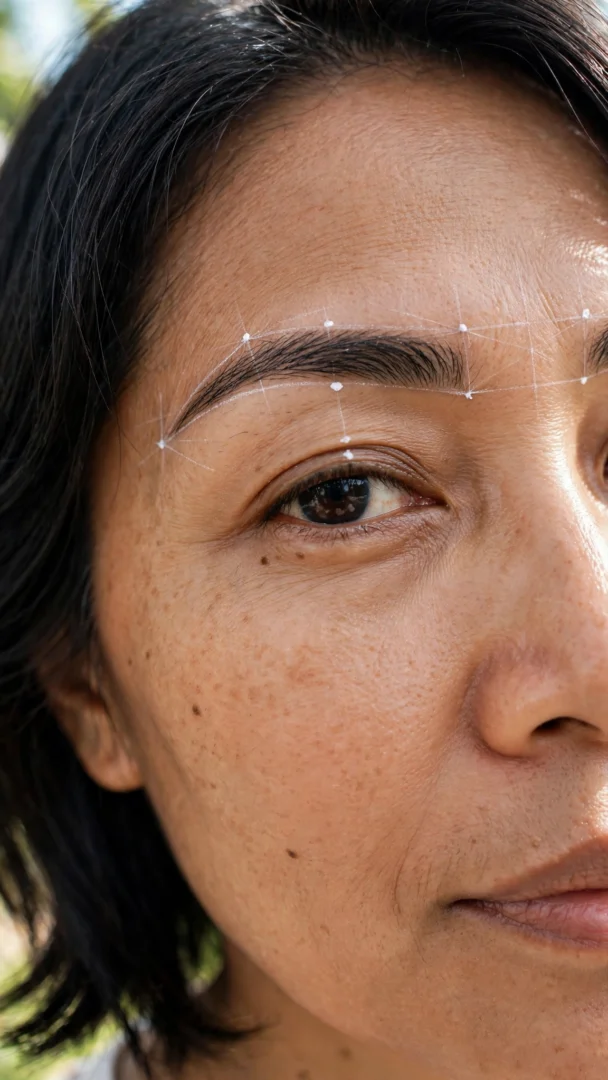
Brow mapping measures where your brow should start, arch, and end based on your own facial landmarks. A brush handle held against the nose and eye marks the three points.
Everyone benefits from a quick map before tweezing or filling, since it stops over-removal. It is the surest way to get symmetry right.
Mark the three points with small dots, then connect them lightly. Fill only within those lines and you will stop going too wide or too short.
8. Tweezing Cleanup: Keeping Edges Crisp
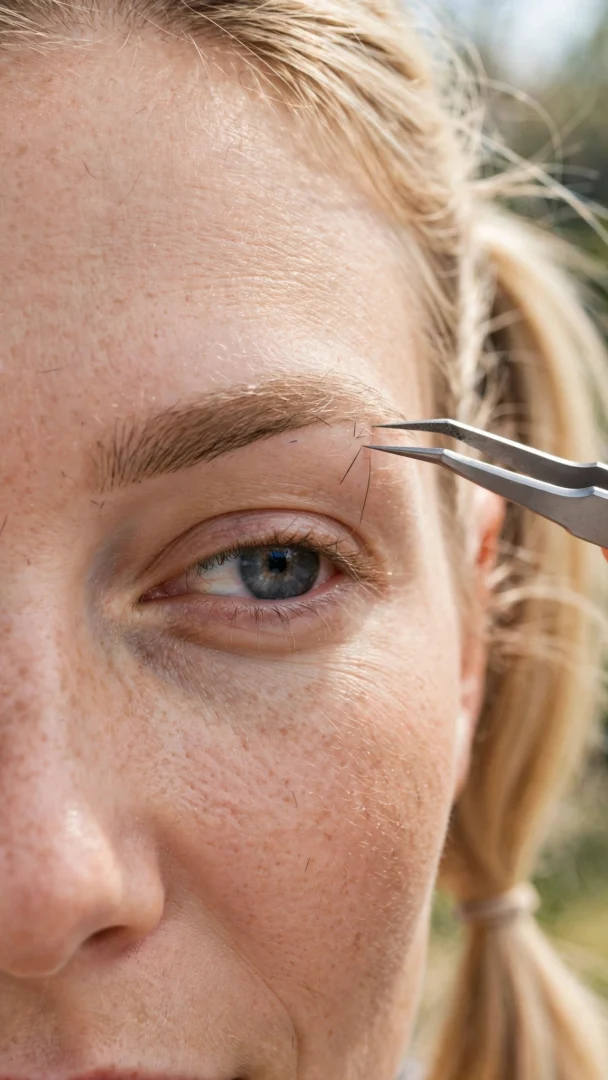
Tweezing removes strays one by one for clean edges between appointments. A slant-tip tweezer with a firm grip makes the job quick and less painful.
This suits anyone maintaining an established shape at home. It keeps the outline neat without a salon visit.
Tweeze after a warm shower when pores are open, and pull each hair in the direction it grows. Step back often to check both brows together.
9. Brow Threading for Precision Shaping
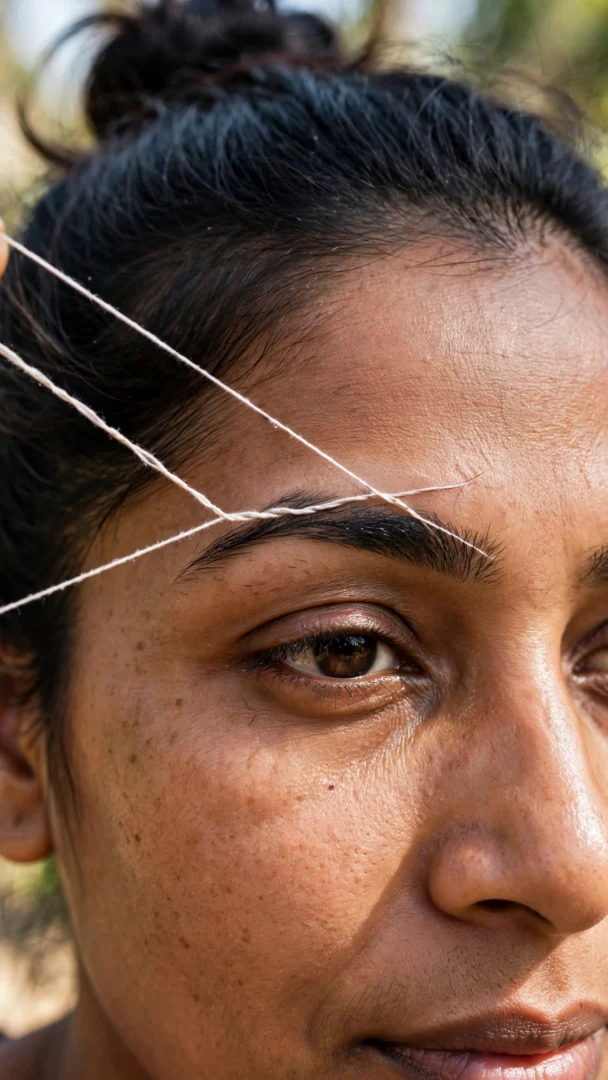
Threading rolls a twisted cotton thread across the skin, lifting multiple fine hairs at once with sharp precision. The technique gives very clean, defined lines.
Sensitive skin that reacts to waxing often prefers threading, since no chemicals touch the skin. It is also precise enough for detailed shaping.
See a skilled threader every three to four weeks for maintenance. Avoid touching the area with heavy products for a few hours afterward.
10. Gentle Brow Waxing for Long-Lasting Edges
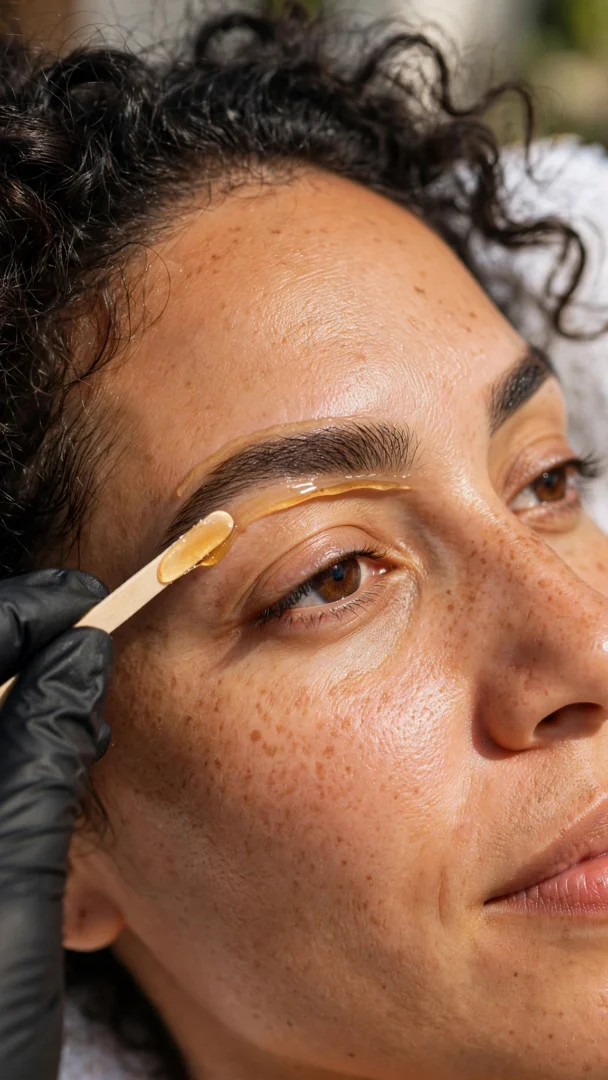
Waxing removes a whole section of unwanted hair in one pass, leaving edges crisp for weeks. Soft wax applied with a steady hand is the gentlest salon option.
Coarse or fast-growing brows stay tidy longest with waxing. It is efficient for anyone who wants a low-fuss routine.
Book with a brow specialist rather than doing it at home. Tell them how much fullness you want to keep before they start.
11. Brow Trimming: Taming Long Brow Hairs
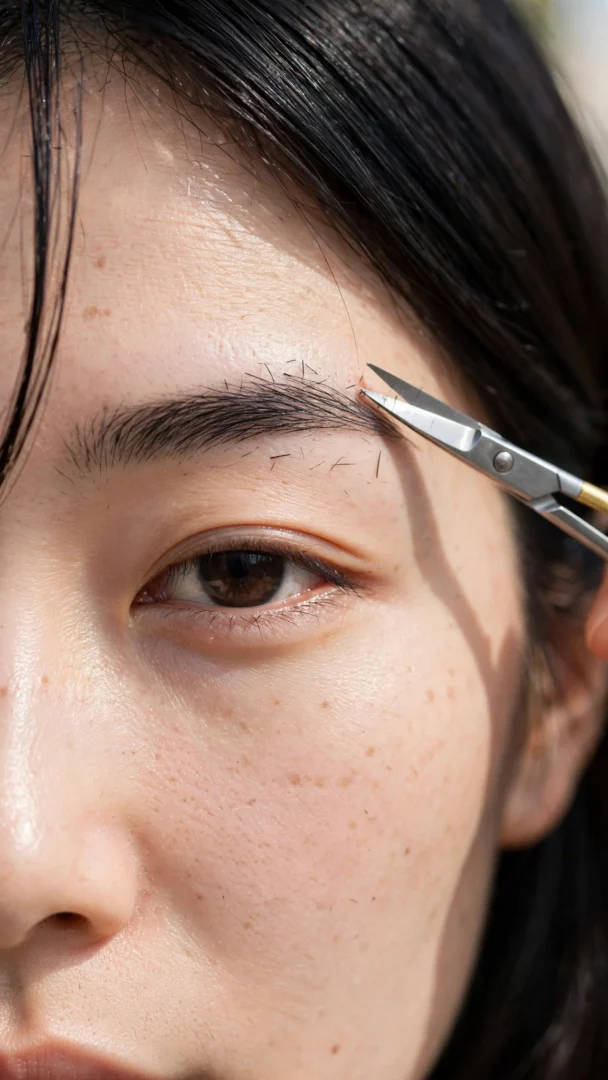
Trimming shortens hairs that grow too long and stick out of the shape. A small pair of brow scissors and a spoolie is all you need.
Long, unruly, or curly brow hairs sit down properly after a trim. It is a two-minute fix with a big payoff.
Brush the hairs straight up and snip only the tips that extend past the top line. Trim less than you think, then check and repeat if needed.
12. Concealer Carve-Out for Sharp Definition
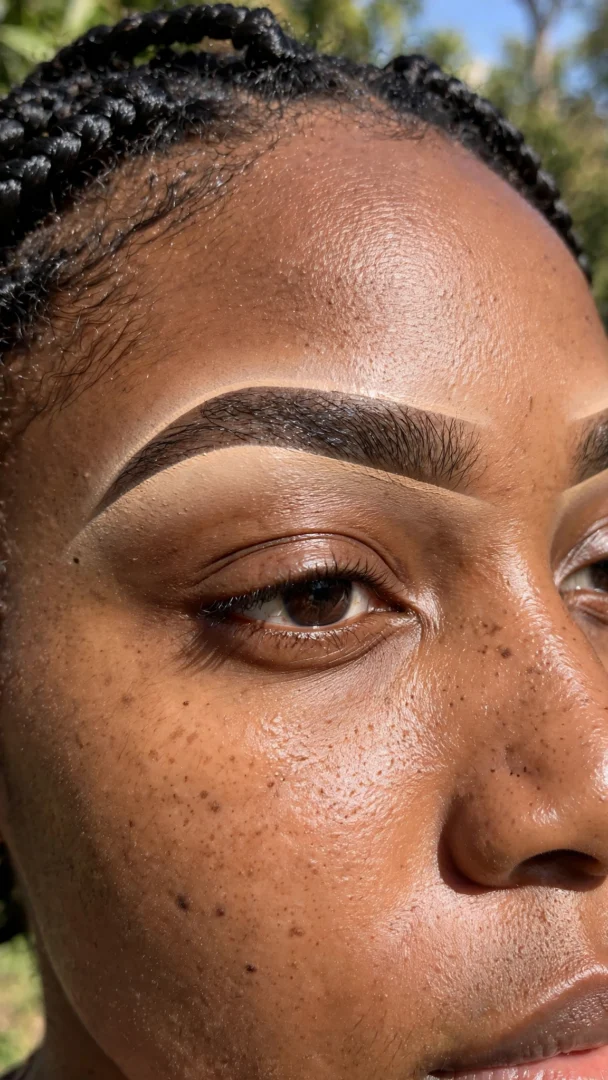
A carve-out traces concealer along the top and bottom edges of the brow to sharpen the outline. It makes any fill look cleaner and more deliberate.
Bold and evening brows look best with this finishing step. It also photographs extremely well.
Use a flat concealer brush and a shade that matches your skin. Blend the outer edge of the concealer line so it melts into your base.
13. Brow Pencil in Ash Blonde for Fair Hair
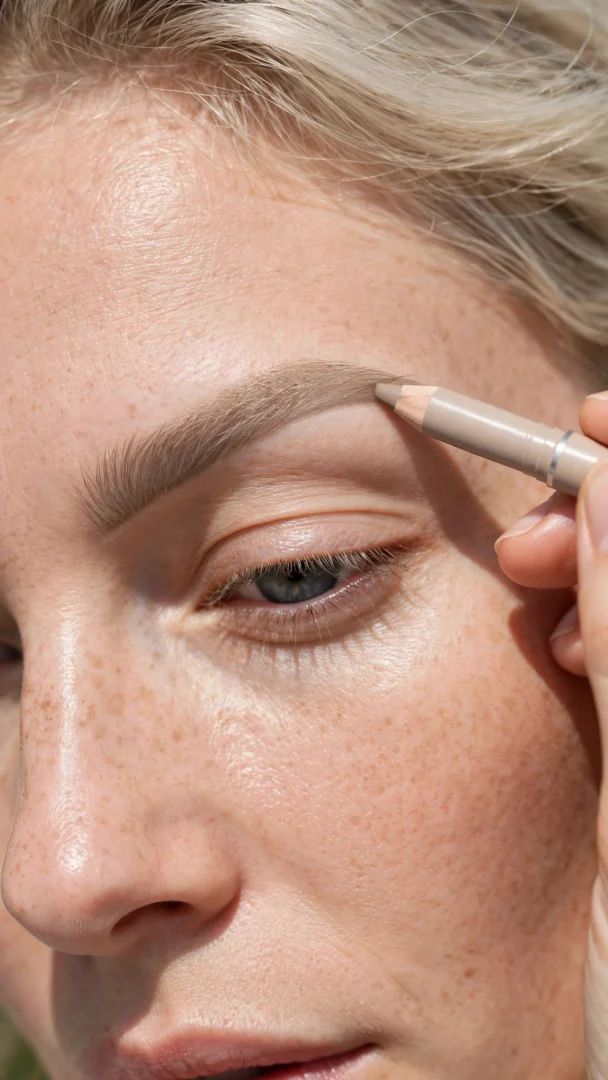
Ash blonde is a cool, muted tone that fills fair brows without going orange or reddish. It keeps light hair looking natural instead of overdrawn.
Natural blondes, fair redheads, and women with silver hair suit this shade best. Warm-toned pencils can look harsh on them.
Choose a pencil one shade deeper than your hair for definition. Fill in short strokes and brush through to soften.
14. Warm Brunette Brows to Match Dark Hair
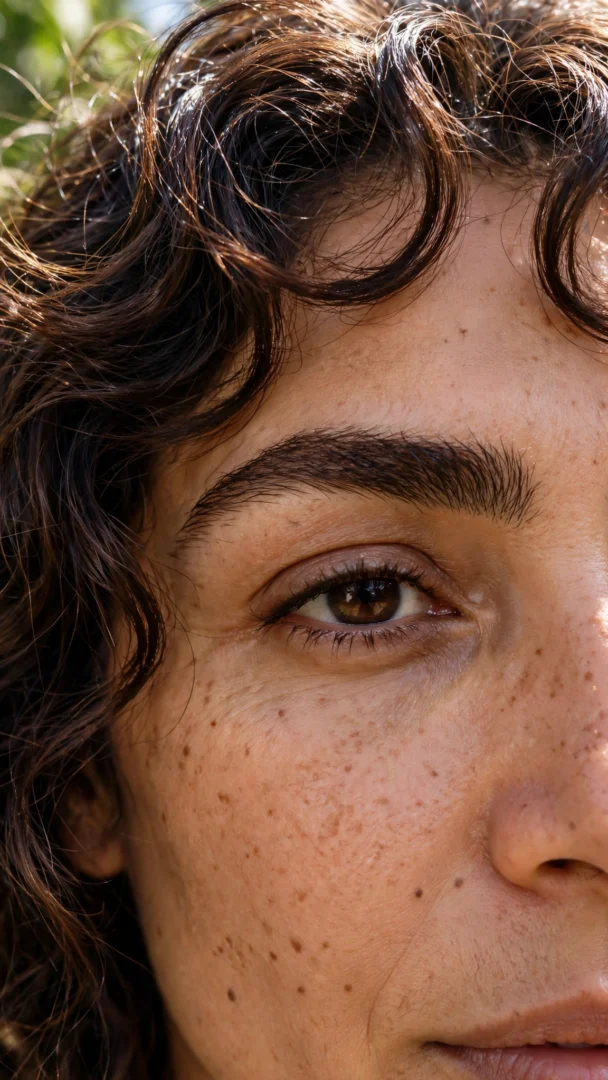
A warm brunette shade adds depth and richness that matches dark brown and black hair. The warmth stops brows from looking flat against the skin.
Brunettes with warm undertones or warm brown hair color need this tone. Cool ash shades can look grey and lifeless on them.
Match the pencil to your darkest hair strands, not your lightest highlights. Smudge the strokes with a spoolie for a softer finish.
15. Silver-Grey Brows for Grey Hair
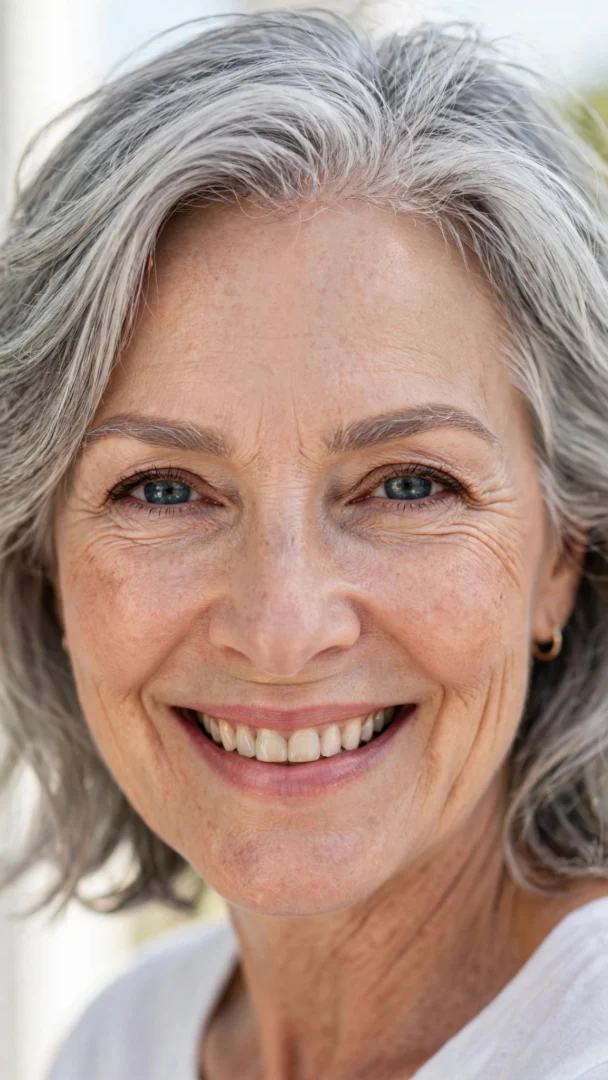
Silver-grey brow color mirrors fully grey or silver hair for a harmonious, natural match. It adds definition without the heaviness of a dark brow.
Women who have gone fully silver look most balanced with this tone. Dark brows against silver hair can overpower the face.
Look for taupe-grey or silver brow products rather than true grey, which can read flat. Keep the fill soft and well blended.
16. Brow Powder Duo (Light + Dark) for Dimension
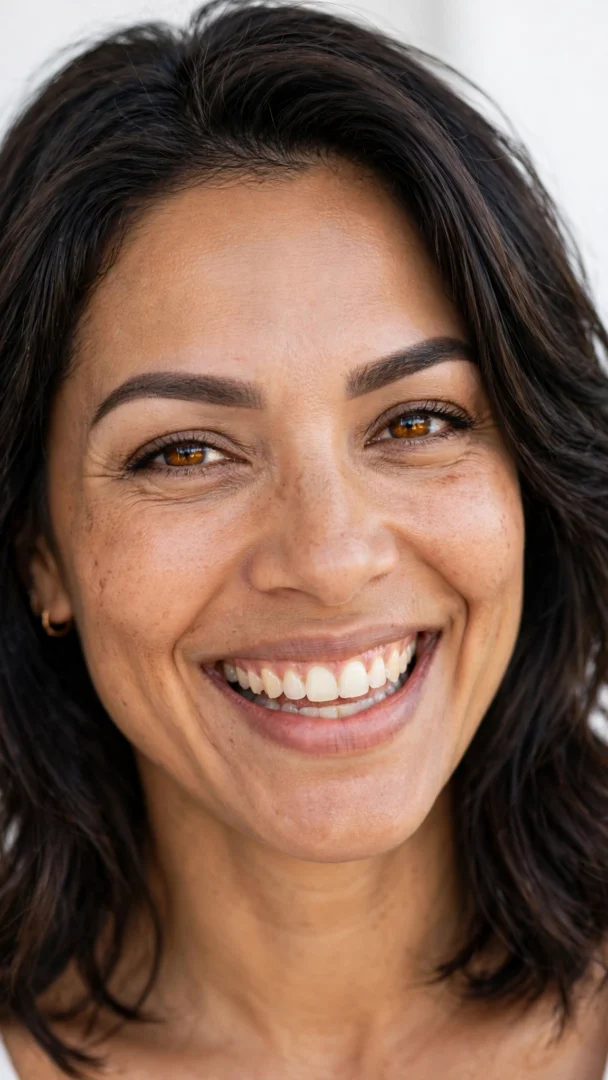
A duo pan holds a light and a dark powder that you blend for a dimensional, natural fill. The two tones mimic the way real brow hair varies in color.
One-shade fills that look flat and painted benefit most from a duo. It is ideal for sparse brows that need realistic texture.
Apply the darker shade through the arch and tail, then feather the lighter shade at the front. Mix the two at the arch for a seamless blend.
17. Brow Highlighter: Lifting the Arch
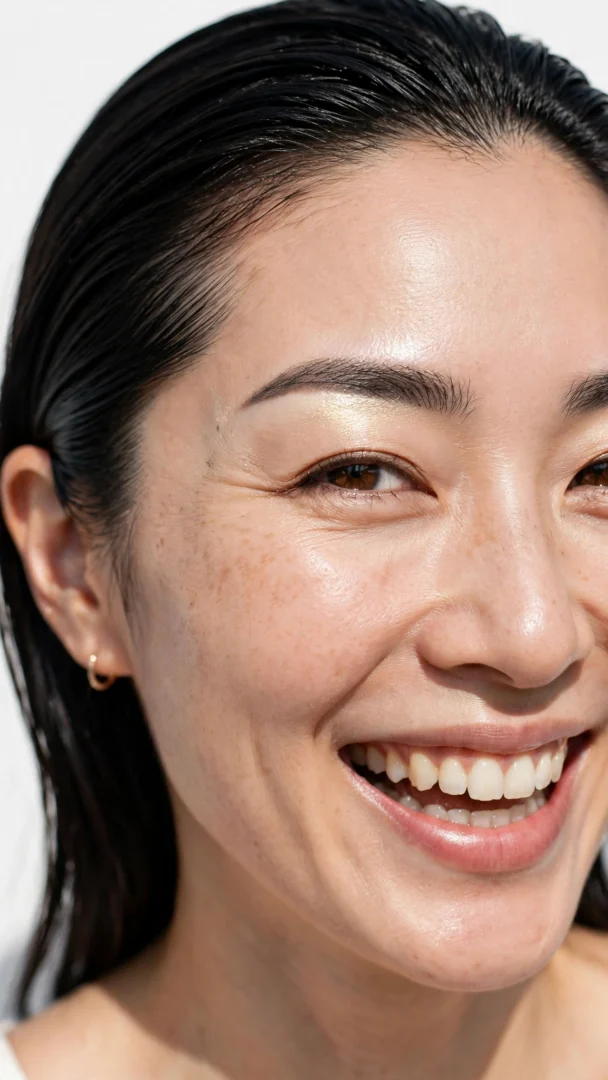
A sweep of matte or subtly shimmery highlighter right under the arch creates an instant lifted look. The contrast makes the brow bone look higher and brighter.
Drooping or straight brows gain the most visible lift from this trick. It also opens up the eye area beautifully.
Use a shade just lighter than your skin and blend the edges well. Keep shimmer subtle for daytime and save the glow for evening.
18. Brow Tinting at Home for Low-Maintenance Color
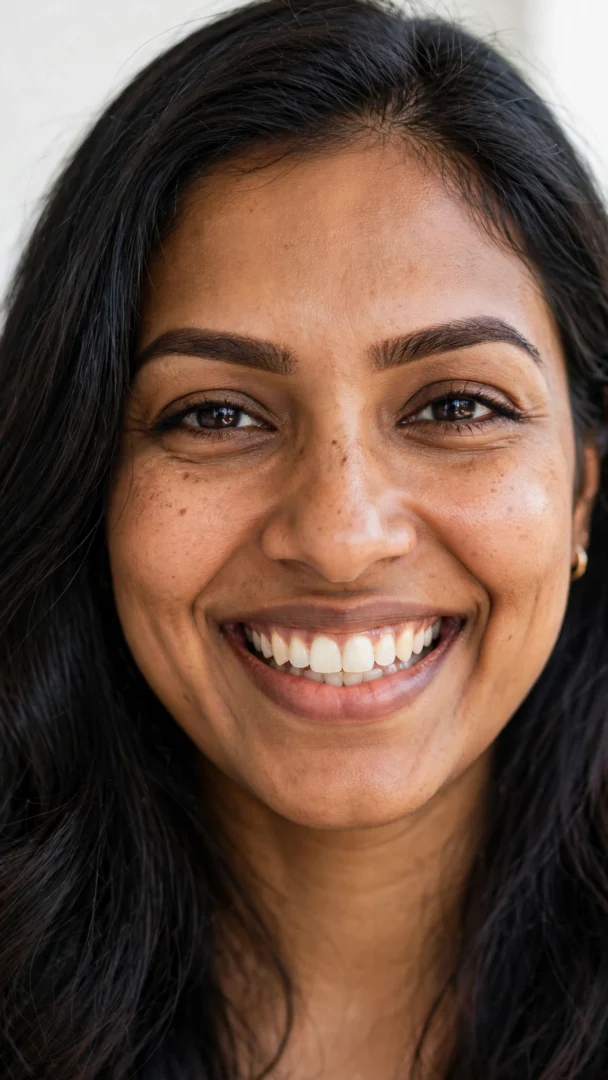
At-home tinting stains the brow hairs (and lightly the skin) so they look fuller and darker for weeks. It is like a semi-permanent mascara for your brows.
Light or sparse brows that disappear in photos become visible with a tint. It also cuts your morning routine down to nothing.
Follow the timing on the kit exactly and always patch-test first. Tint slightly lighter than you think, since the color deepens as it develops.
19. Brow Stencils for Symmetrical Shapes
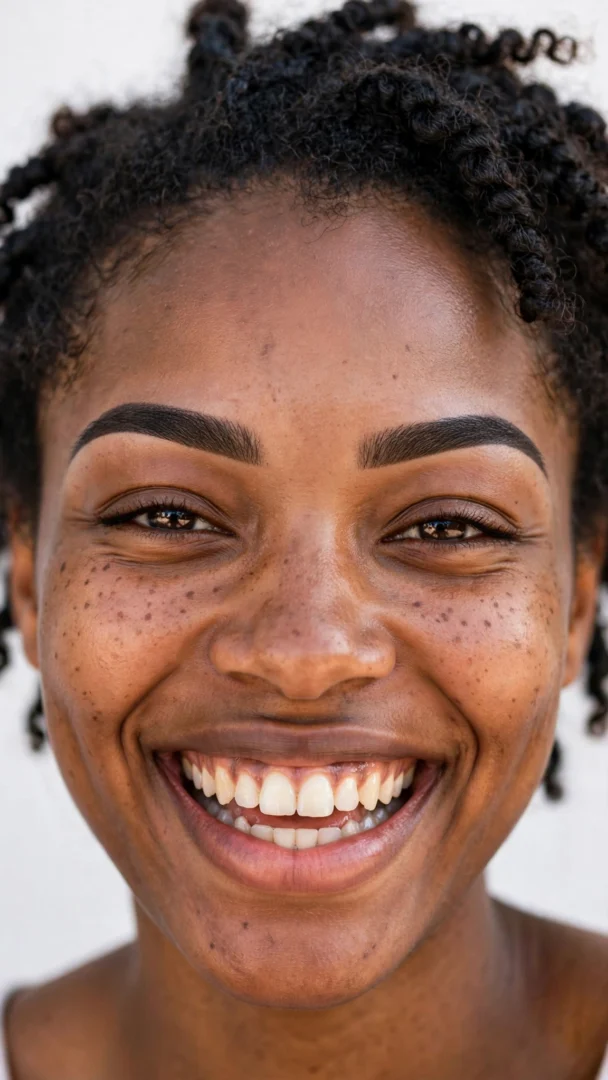
Stencils are reusable guides in different shapes that you hold against the brow and fill through. They take the guesswork out of symmetry.
Beginners who struggle to match both brows will find stencils reassuring. They are also useful when trying a new shape.
Hold the stencil steady and fill lightly, then remove and check before darkening. Adjust the stencil position rather than forcing a shape that does not fit your face.
20. Henna Brows for Long-Wear Color
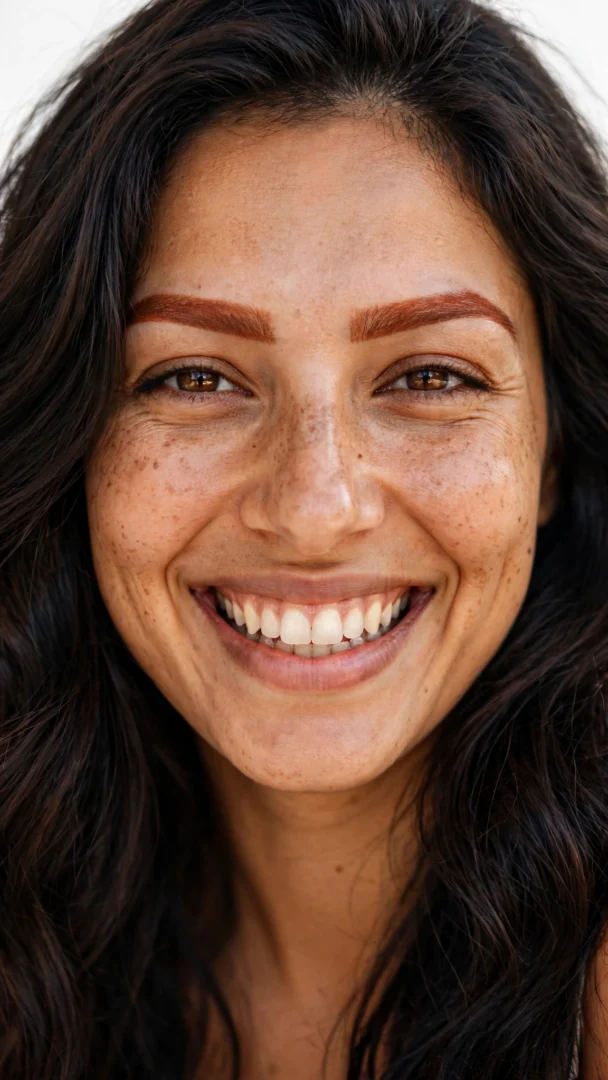
Brow henna is a natural plant-based dye that stains both the hair and the skin underneath. The skin stain gives extra fullness for up to two weeks.
Very sparse brows or patchy areas look dramatically fuller with henna. It is a good middle ground between tinting and microblading.
Leave the paste on for the full recommended time for the deepest stain. Avoid oil-based cleansers on the brows to make the color last.
21. Brow Serum for Fuller Growth Over Time
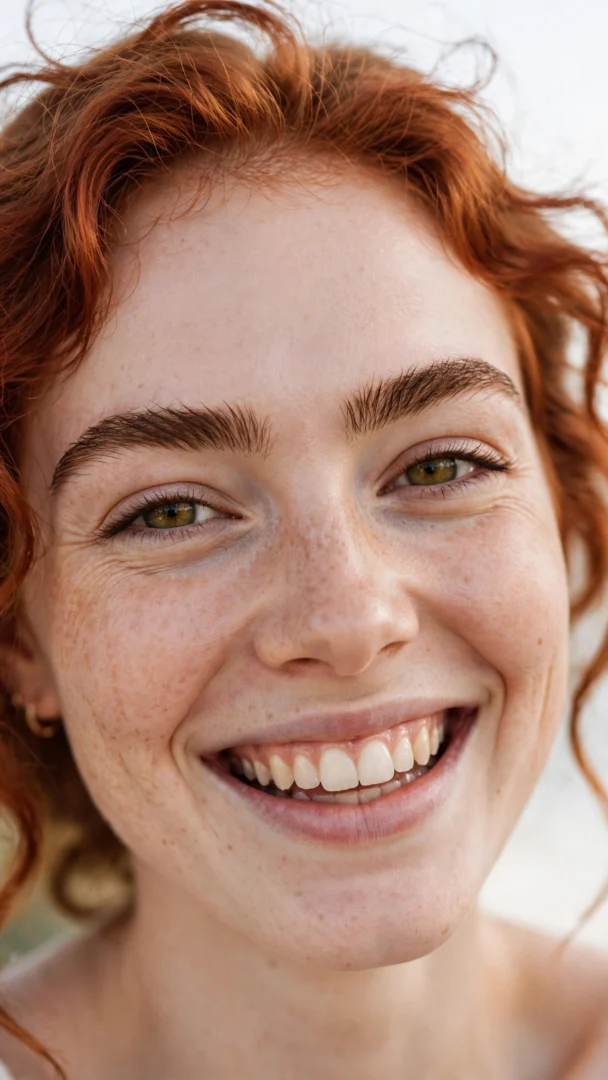
A growth serum nourishes the hair follicles with peptides and conditioning ingredients to support thicker-looking brows. Results build gradually over weeks of daily use.
Thinning or overplucked brows respond best to consistent serum use. Patience is required, since visible change takes six to eight weeks.
Apply a thin layer along the brow line every night after cleansing. Stay consistent, since skipping days slows the progress noticeably.
22. Straight Brows (Youthful, Modern Look)
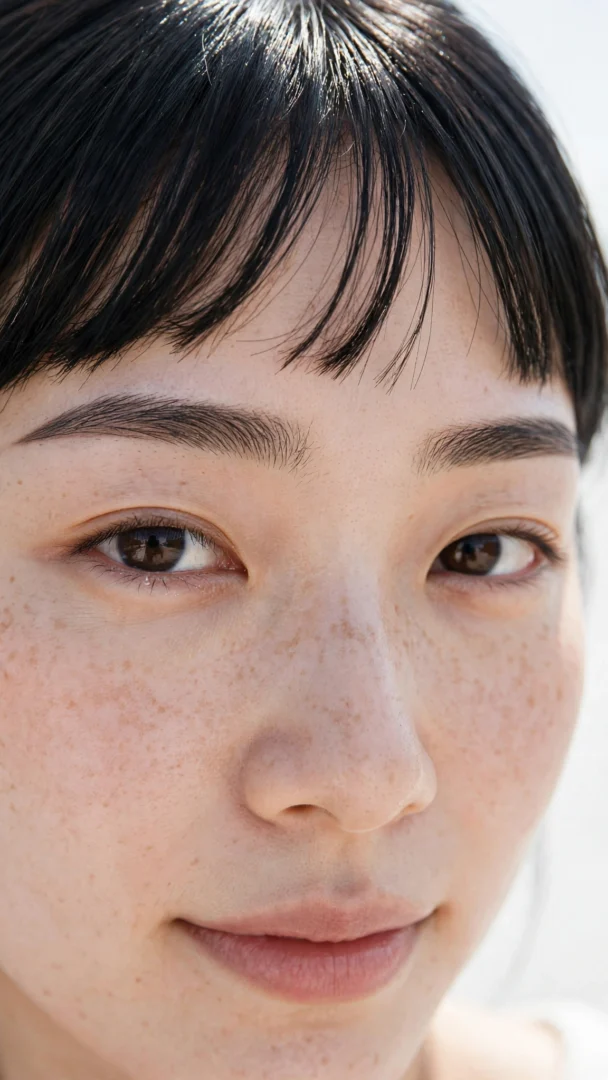
Straight brows run with a low, level arch for a soft, youthful, modern expression. The shape is popular in Korean beauty looks and on camera-friendly faces.
Long or angular faces look softer with a straight brow, since there is no sharp peak. It also suits anyone wanting a fresh, relaxed look.
Fill with a light hand and keep the top edge fairly flat. Avoid extending the tail too far down, which ages the shape.
23. Soft Arched Brows for a Lifted Look
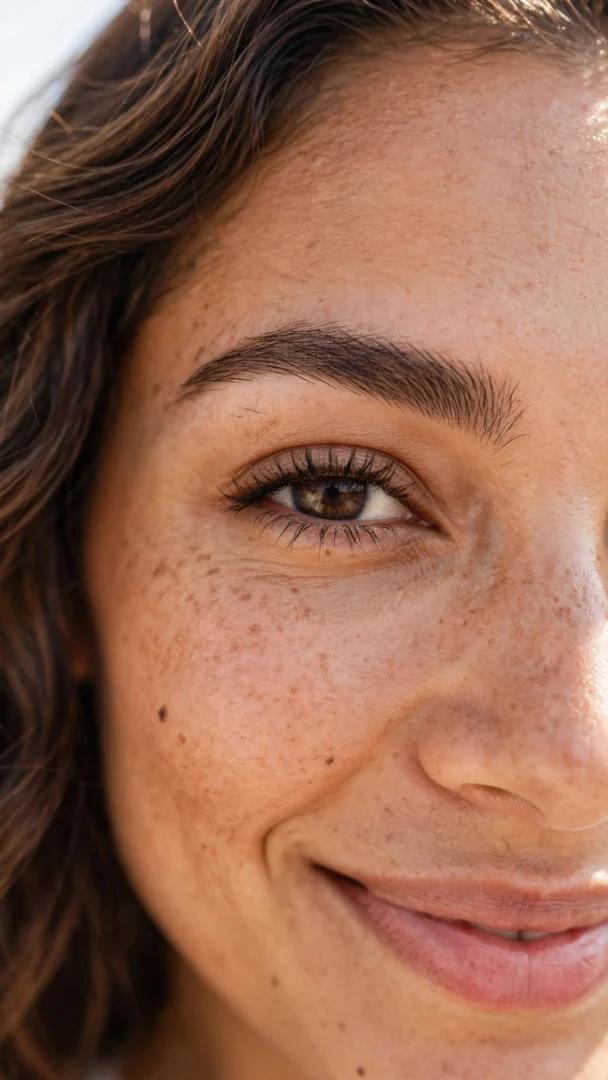
A soft arch rises gently to a peak about two-thirds of the way along the brow. The curve lifts the whole eye area without looking dramatic.
Round faces and mature eyes benefit most from this gentle lift. It is the most universally flattering brow shape.
Find your peak by lining it up with the outer edge of the iris. Fill upward toward the peak and taper the tail downward.
24. Thick Statement Brows for Bold Beauty
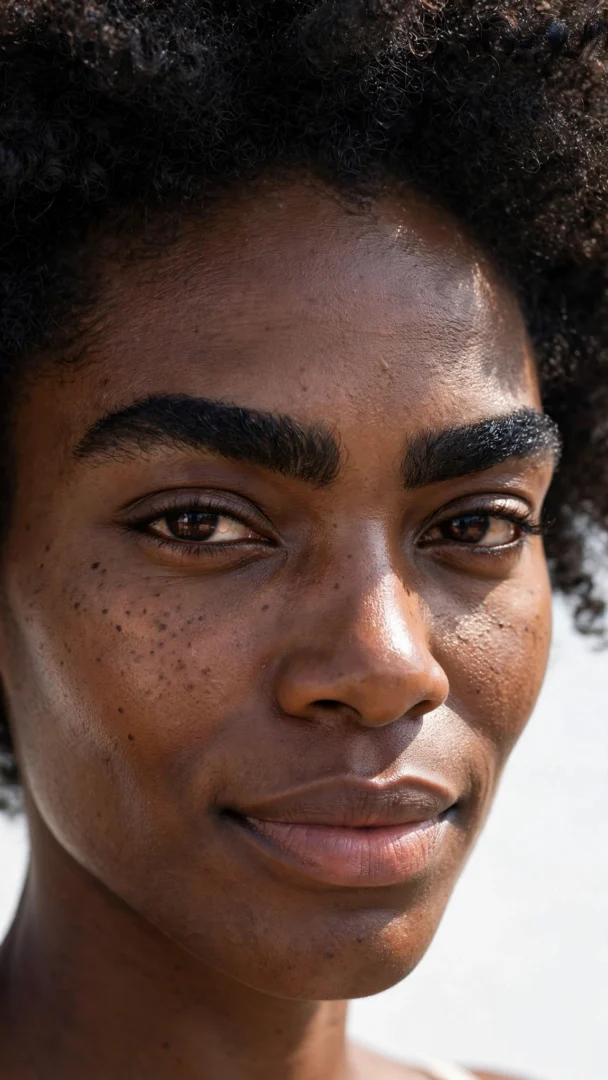
Thick, full brows make a confident statement and frame the face strongly. The look is bold, modern, and unapologetically full.
Strong features and oval faces carry a thick brow best. It also balances a strong jawline or full lips.
Brush the hairs upward and fill only the genuinely sparse spots to keep it believable. Overfilling turns a statement into a costume.
25. Thin, Refined Brows for an Elegant Look
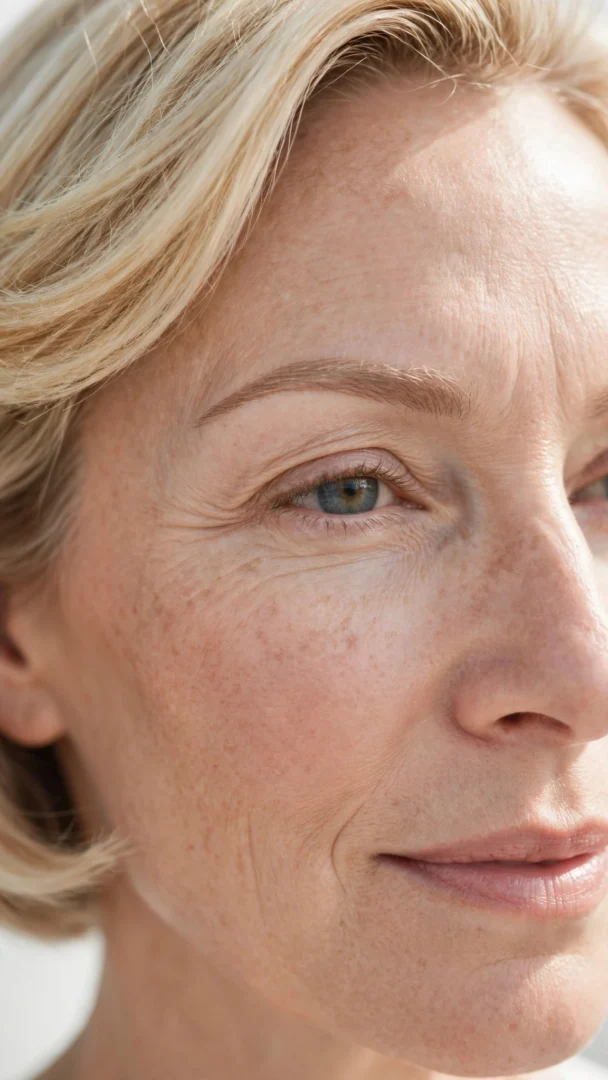
A slim, carefully shaped brow reads refined and classic, with a delicate line that never shouts. The elegance comes from precision rather than fullness.
Petite features and formal styles suit a thinner brow. It is also lovely with vintage-inspired makeup looks.
Keep the edges crisp and the line even from start to finish. Resist the urge to go too thin, which can look dated.
26. Brow Contouring with Shadow and Light
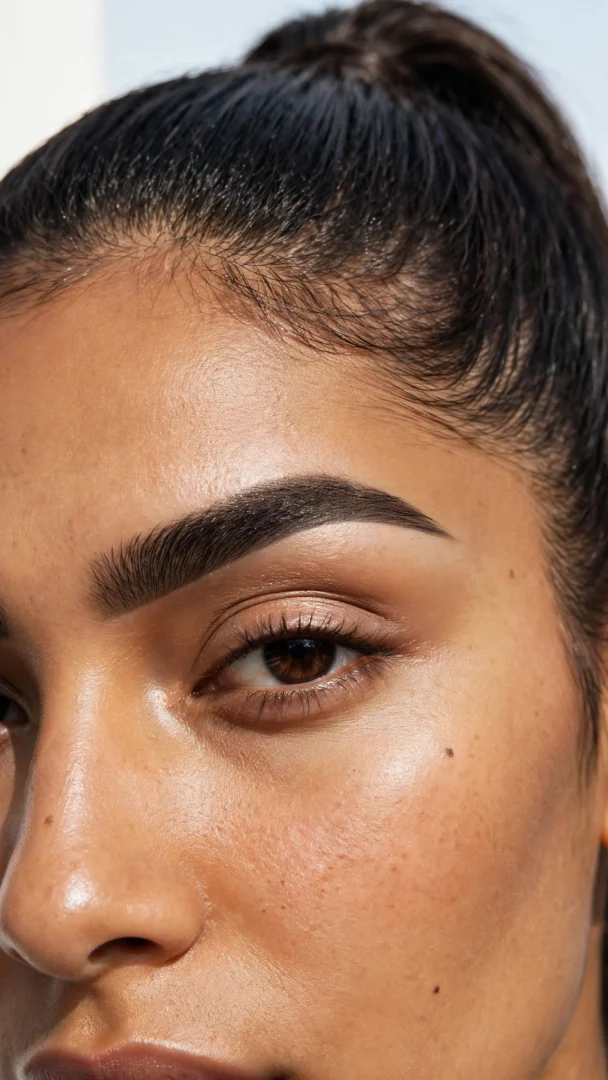
Brow contouring pairs a slightly deeper shade under the brow with highlighter on the bone for sculpted dimension. The light-and-shadow contrast defines the arch dramatically.
Flat brow bones and deep-set eyes gain visible structure from this technique. It is made for evening looks and photography.
Apply the darker tone with a small brush and blend the highlighter outward. Step into different lighting to check the blend before finishing.
27. Natural No-Makeup Brow Tidy-Up
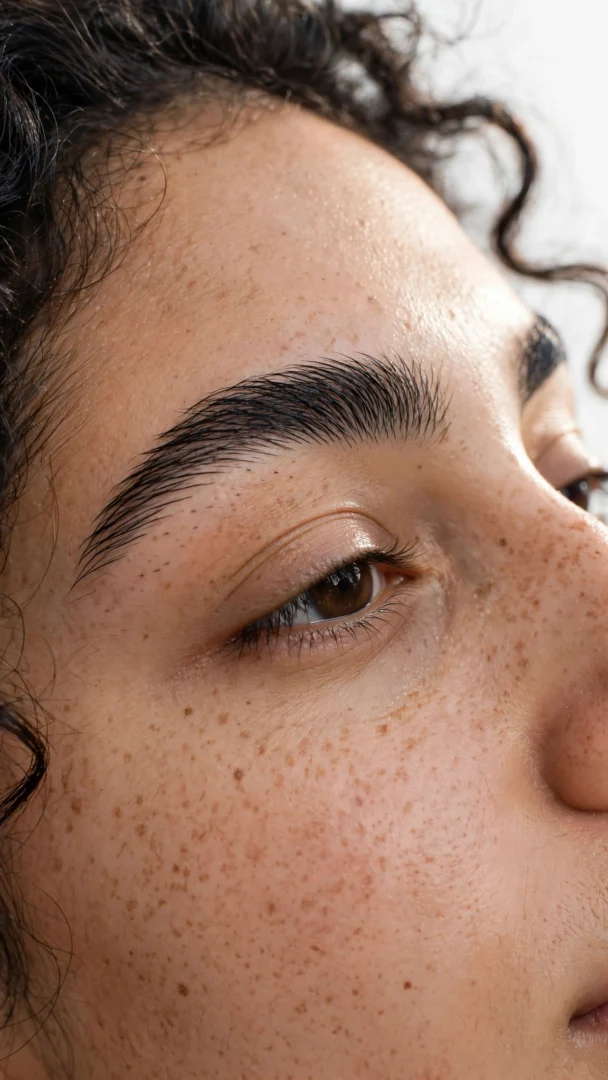
This approach skips all makeup and simply grooms the natural brow: trim, tweeze strays, and brush into place. The result is clean, honest, and effortlessly tidy.
Low-maintenance routines and sensitive skin benefit from skipping products entirely. It is also the most sustainable daily option.
Brush upward first to see the true shape, then trim and tweeze sparingly. A clear gel can hold everything without adding color.
Frequently Asked Questions
What is the best brow product for beginners?
A tinted brow gel is the friendliest starting point. It adds color and hold in one swipe, and the small brush makes mistakes almost impossible. Once you are comfortable, you can graduate to powder or pencil for more control.
How do I choose the right brow color?
Pick a shade that echoes your hair color without matching it exactly. Blondes and silver-haired women usually suit a shade one tone darker than their hair, while brunettes do best one shade lighter than their darkest strands. Ash and taupe tones look the most natural on most people.
My brows have thinned with age. Can I get them back?
You can often improve them, though full regrowth takes time. Stop over-tweezing, use a nightly growth serum, and fill the gaps with powder or a brow pen while you wait. A professional tint or henna treatment can make the existing hair look much fuller in the meantime.
Should older women have thick or thin brows?
Medium-full brows with soft edges tend to flatter mature faces best. Very thin brows can look dated and draw attention to the eye area, while overly thick brows can overpower. Aim for your natural shape, slightly cleaned up and softly filled.
How often should I shape my brows?
A professional shaping every four to six weeks keeps the baseline neat. At home, tweeze only the obvious strays once a week so you do not slowly overdo it. Trim long hairs every couple of weeks as needed.
Is brow tinting safe for sensitive skin?
Most people tolerate brow tinting well, but sensitive skin needs caution. Always do a patch test 48 hours before the full application. If you react to hair dye or have very reactive skin, ask a dermatologist first.
What is the difference between microblading and brow henna?
Microblading is a semi-permanent technique where fine cuts are made in the skin and filled with pigment, lasting one to three years. Brow henna is a plant-based dye painted onto the hair and skin that fades in two to six weeks. Henna is painless, cheaper, and commitment-free, while microblading lasts far longer.
Conclusion
Great brows are not about one miracle product. They come from knowing your shape, choosing a color that fits your hair, and using a light hand.
Try one or two ideas from this list and give them a week before judging. Small, consistent grooming beats an occasional dramatic overhaul every time.